Wicker weaving is an ancient art form that has been practiced for centuries. From baskets to furniture, this craft continues to captivate artisans with its combination of functional utility and artistic expression. If you’re new to wicker weaving or looking to improve your skills, it’s essential to understand the basics before diving into more complex projects. Here is a step-by-step guide to mastering the art of wicker weaving.
1. Gathering the Materials
The first step in any weaving project is selecting the right materials. As mentioned earlier, willow, rattan, bamboo, and other fibers are commonly used in wicker weaving. You’ll also need some basic tools like scissors, a weaving needle, and possibly a frame or mold, depending on your project.
Once you’ve chosen your material, make sure to prepare it properly. Natural fibers like willow should be soaked in water for a few hours to soften them, making them more pliable and easier to weave. For synthetic materials, such as plastic rattan, soaking may not be necessary, but it’s always good to check the manufacturer’s instructions for best practices.
2. Understanding the Weaving Techniques
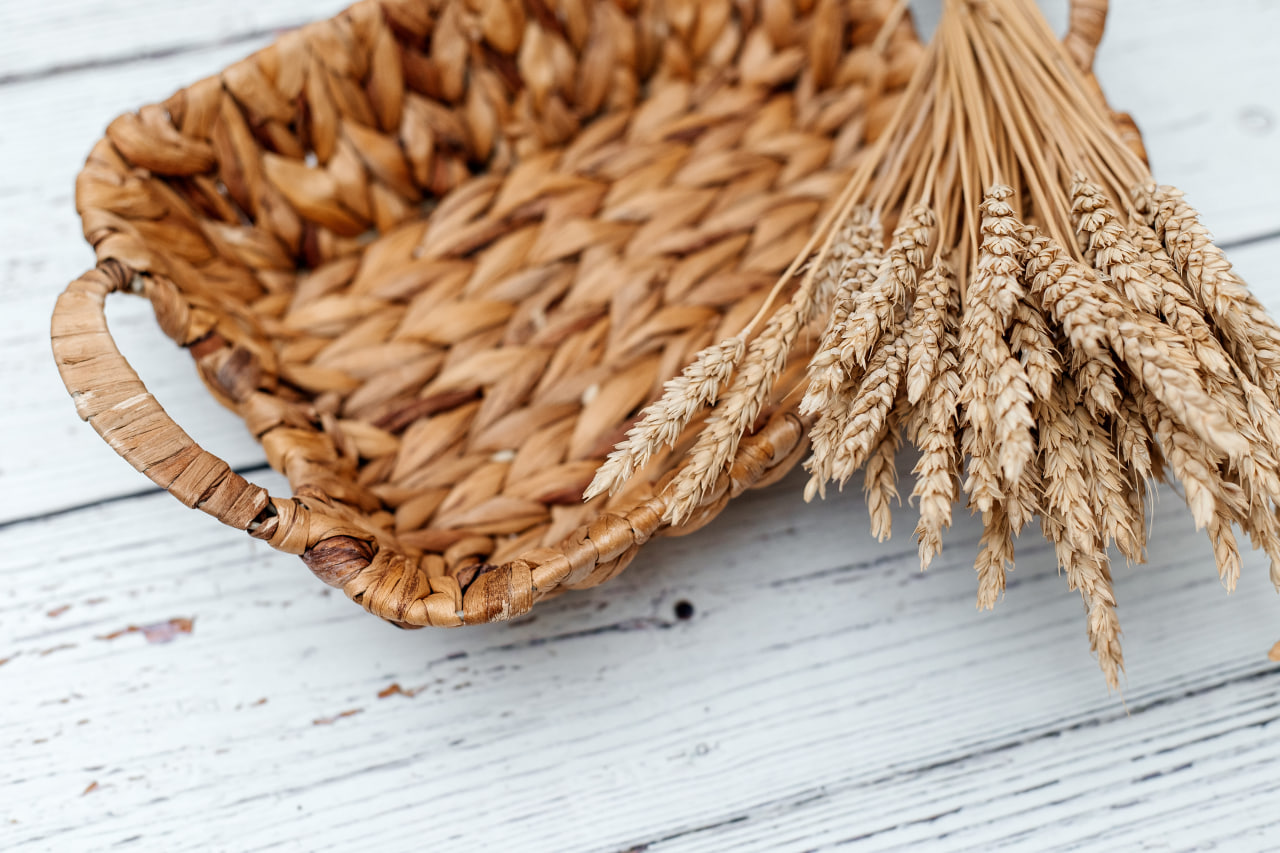
Wicker weaving typically involves interlacing strips of material to create a tight, secure pattern. Some of the most basic techniques include the over-under pattern, which creates a simple crisscross design, and the spiral technique, where strips are woven in a circular fashion to create round baskets or other items.
The key to mastering these techniques is practice. Begin with simple, small projects like a coaster or small basket. As you become comfortable with the over-under technique, move on to more complex patterns, such as the diagonal weave or herringbone. Many weavers also experiment with combining techniques for added texture and variety.
3. Creating the Base
Most wicker projects start with creating a strong base. For a basket, this would involve weaving strips of material in a circular or square pattern, depending on the desired shape. The base should be tightly woven to ensure that it holds its form and can support the weight of the rest of the project.
Begin by securing the first few strips of material and then gradually add more, working outward from the center. If you’re creating a flat base, you’ll need to maintain an even tension across all strips, ensuring that the weaving is uniform and consistent. Once the base is complete, secure the ends of the strips by tucking them under other strips, so they remain hidden and don’t unravel.
4. Building the Sides
After completing the base, it’s time to begin building up the sides of your piece. The weaving pattern continues from the base, and as you work upward, the shape of the item will start to take form. When weaving the sides, it’s important to maintain even pressure on the strips to avoid gaps or unevenness in the final product.
To create a smooth curve or straight sides, you may need to bend the material slightly or adjust your weaving tension. If you’re making a basket, be sure to periodically check that the shape is consistent, especially as you approach the top. You can adjust the width and height as needed by adding or removing strips.
5. Finishing the Piece
Once you’ve completed the desired height of your project, it’s time to finish the weaving. For baskets and other items, this often involves securing the last few strips of material by tucking them under previous strips or trimming them to create a neat edge. If you’re working with flexible materials like willow, you may want to bend the ends back into the piece for extra security.
If you’re making a piece of furniture or a more intricate design, you may need to use nails, staples, or a frame to stabilize the weaving. At this stage, you can also add decorative elements, such as ribbons, beads, or colored threads, to personalize your work and give it a unique touch.
Conclusion
Mastering the basics of wicker weaving takes time and patience, but it is a rewarding craft that allows you to create functional and beautiful pieces. By starting with small projects and gradually learning more advanced techniques, you can expand your skills and develop your own weaving style. The key is to practice regularly, experiment with different materials, and most importantly, enjoy the creative process. Happy weaving!

